At the urging of a friend on Instagram (Dollboy92) I decided to dig out my daughters' old My Scene dolls. I am sure many of you remember them. They were brought into the Mattel line up to compete with the Bratz dolls in 2002 and were discontinued in 2014. I will be honest, and I don't want to irritate any Bratz fans, but I did steer my daughters away from Bratz in favor of the the My Scene dolls. So going through my doll stash, I discovered that we had 21 of the My Scene gal dolls in a box. We do have some of the boys as well, but their bodies were commandeered for use on some of our old Ken dolls, so they are not a part of the resurrection post.
I will tell you that these dolls were favorites of both of my daughters, and they were very well "played" with! Their hair was quite a tangled mess, so it has been quite a challenge to get these girls looking good! I did their makeovers in "waves", but for purposes of this blog, I will share photos of all 21 dolls in this post. Note that, as is normal for me, all dolls have been rebodied to articulated bodies.
So here is wave 1
From L to R: Nolee on a Natalya WWE Superstar body, Madison with a toothy smile is on a Blue Top MTM yoga body (2nd release), Madison with a closed mouth in on a MTM yoga body Wave 2 Hispanic with hair in a bun, and Barbie is on a Katniss Hunger Games 2 body.
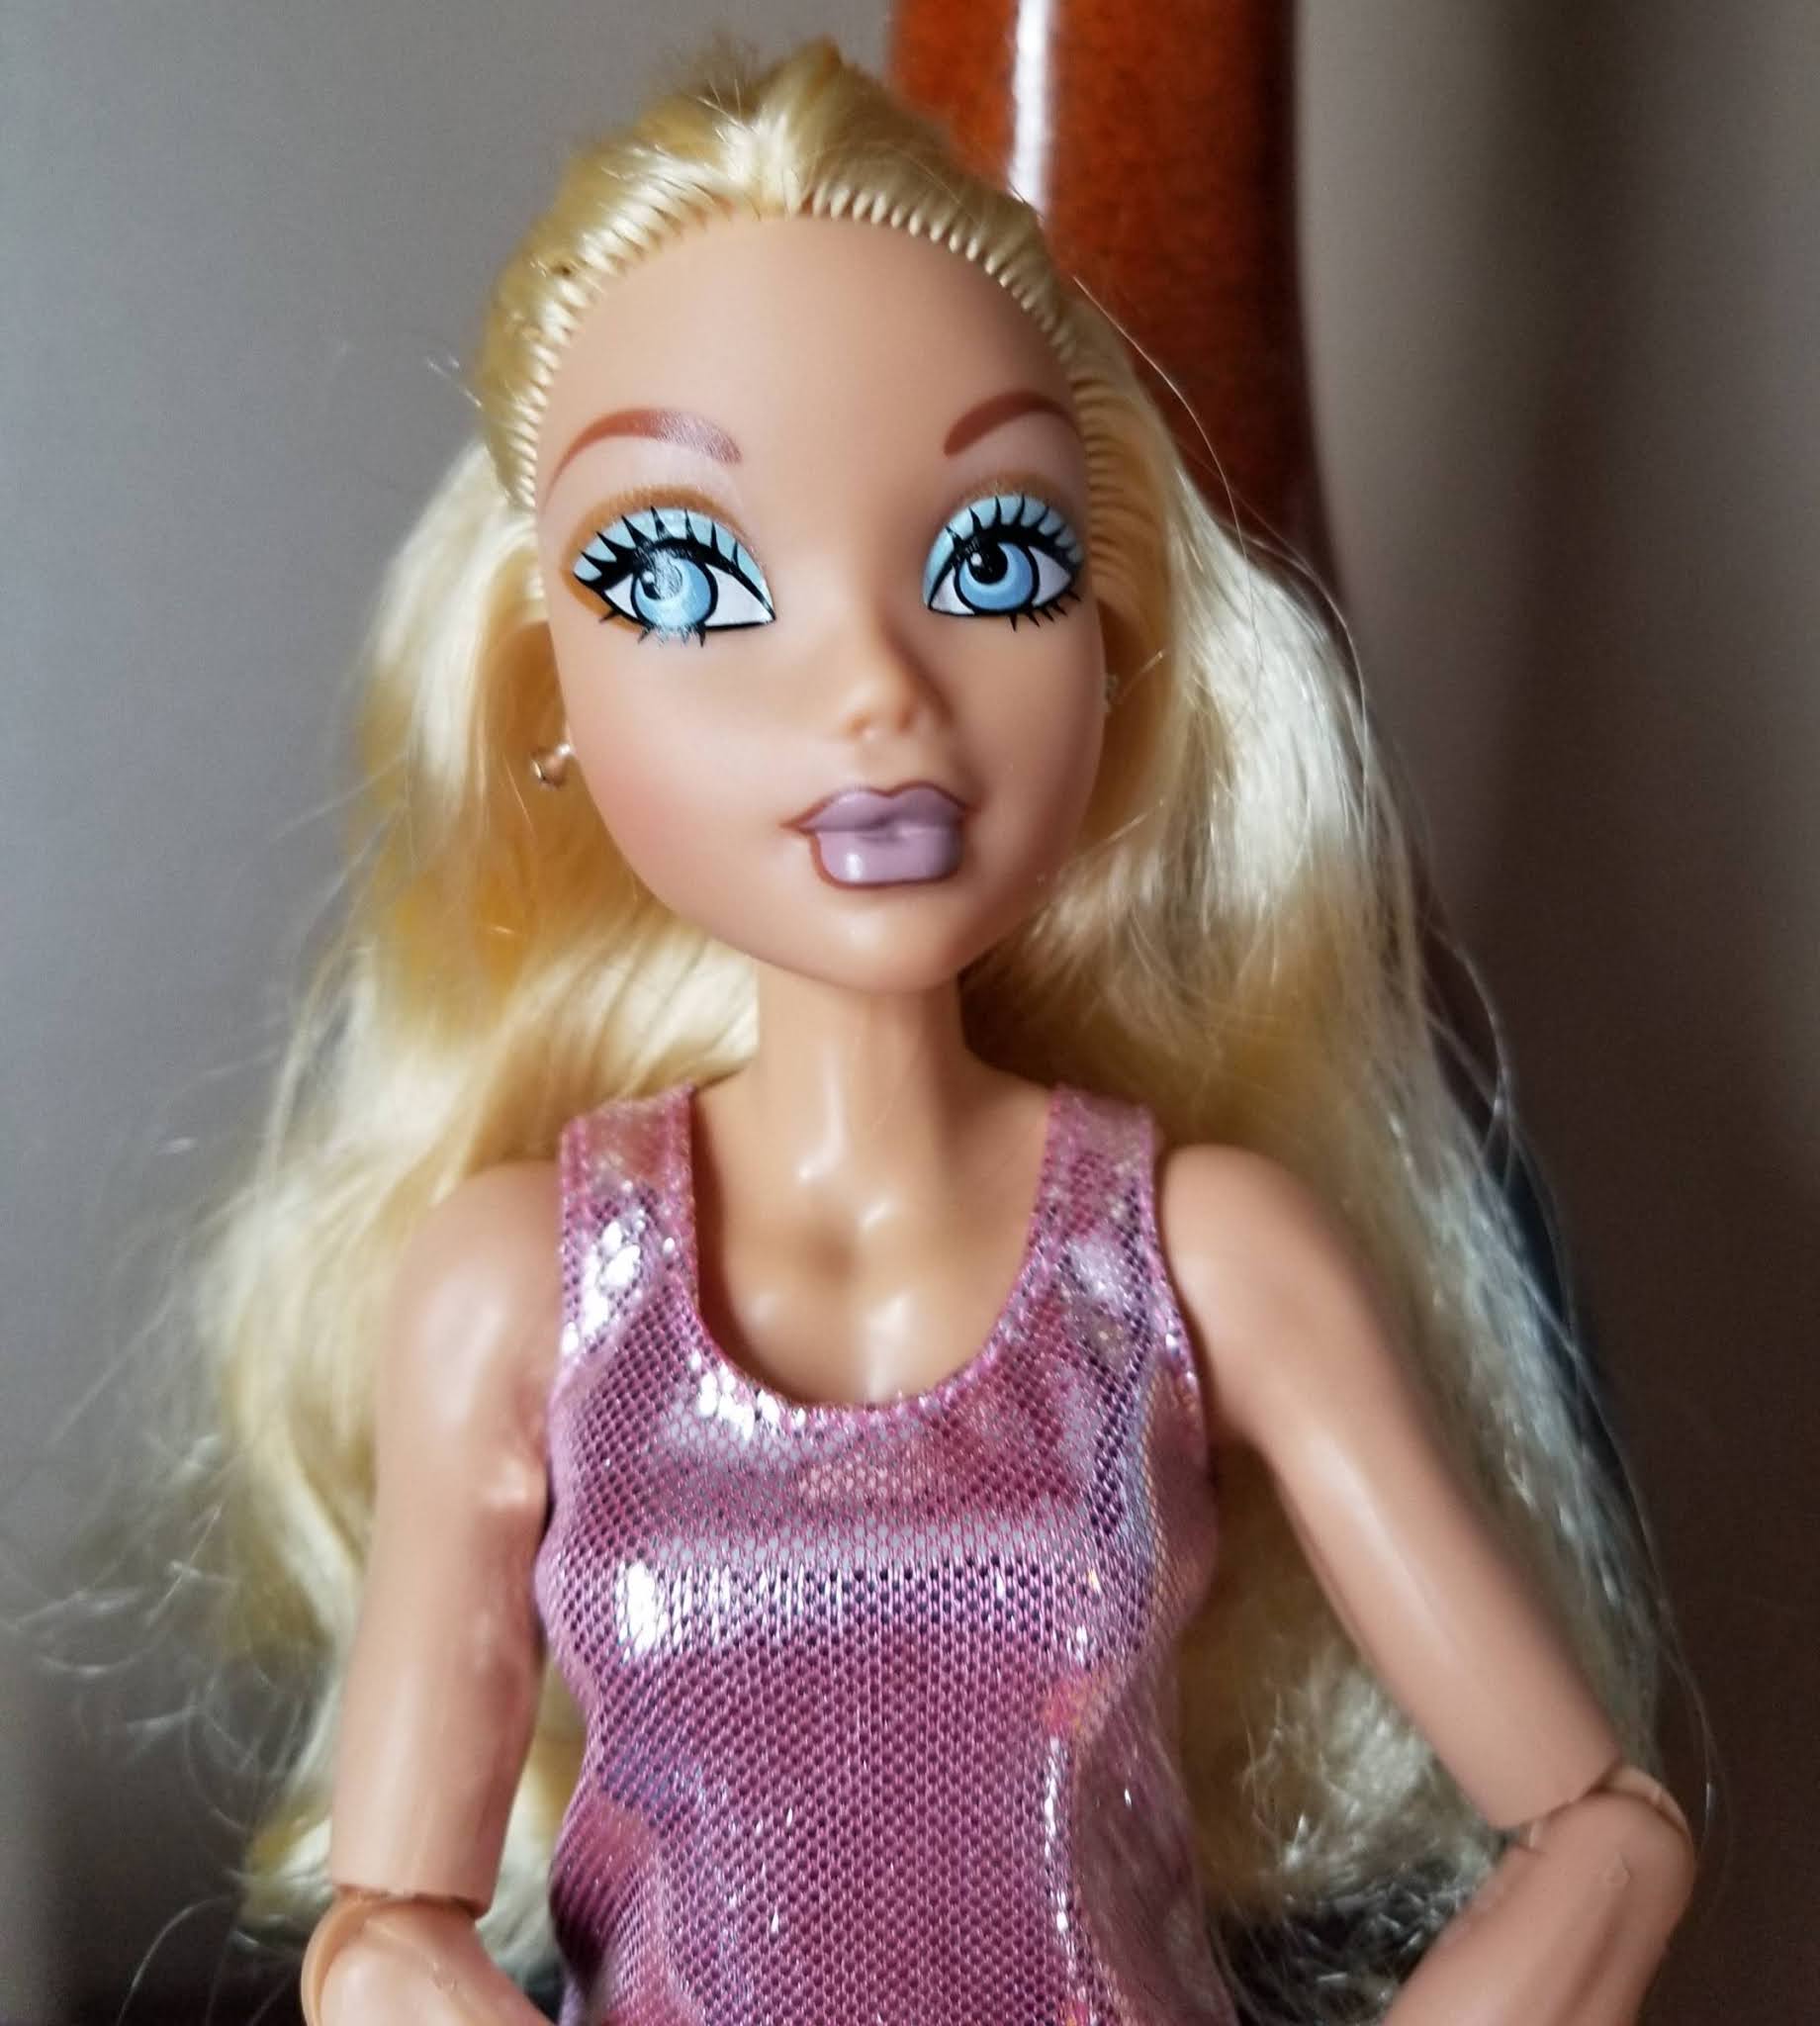
Here are a few close ups of the girls:
The 2nd wave of makeovers:
Top L - Madison w lighter skintone and rebodied on the MTM Dancer! Her hair was originally quite curly, but was in quite a mess. I managed to comb in out, washed and conditioned the hair and straightened it using a flat iron and then trimmed it to this shorter bob. Top R - Delancey on MTM Curvy Yoga, Bottom L - Madison with lighter skintone rebodied on MTM Baseball Barbie and finally, My Scene Special Edition Lindsay Lohan on MTM BMR "Green Beret".
Some additional photos:
Wave 3 of the makeovers:
This group consists of 4 Nolee dolls. It was quite challenging as I had to really dig to find replacement bodies for each of these girls. I hope you will think that I made the right choices! So here we go, Left to right: Nolee on a Purple Top MTM body, Nolee on a BMR green hat MTM body, Nolee on a pale 11 jointed playline body and Nolee on a Dollmore 1:6 scale ball-jointed body. This last one was the most difficult. I was running low on Pale skin tone bodies when I remember I had purchased the Dollmore bodies. Still need to find her some shoes, but I like how she looks on this body. Her hair was in such bad condition, that I thought I might have to reroot her, but after cutting it to shoulder length and giving her a boil wash, I was able to come up with the bob style for her. I like it for now at least! What do you think?
Their closeups!
Wave 4:
This time around, we have 4 Chelsea dolls. From L to R, Chelsea on a play line Barbie with 11 points of articulation, Chelsea on a BMR Tall Barbie - wave 1, Chelsea on Pink Top MTM yoga body and Chelsea on a Dollmore 1:6 scale body with natural skintone.
Their closeups!
After some consideration I decided to swap the Dollmore Body for a Liv body. What do you think?
The 5th and final wave!
 This group has 5 dolls in it to finish the 21 dolls I have for makeovers! This time around, there are 4 Barbie/Kennedy dolls and one Madison. From L to R Back Row, Barbie/Kennedy on a play line Barbie with 11 points of articulation, Barbie/Kennedy on a WWE body, Barbie/Kennedy on a MTM Baseball player body and Barbie/Kennedy on a MTM BMR wave 1 green beret body. Front row seated is a Madison on a MTM Wave 1 second release Blue Top Yoga Theresa body. These have all been a challenge to find the right body for, to get there hair manageable and to get them dressed in cute outfits. Knowing that my daughters played and played with these dolls, you can probably only imagine what some of the hair was like especially for those dolls that had curls. I hope you have enjoyed them!
Their closeups!
That is the show for today! I hope you enjoyed it.